

I got to a tournament for the first time in a while. Bel Air Games was having their monthly store tournament, and it finally lined up with my schedule. I had heard it was a good sized crowd up there. Still, I was pleasantly surprised to find 14 people show up! Even more heartening was the fact that we had a considerable number of newer folks.
So remember how I said I had "finalized" my Regionals list? Yeah, I lied. I had my obligatory yearly freakout after two straight games of getting beaten down by Defiance lists on Vassal. Given how common Defiance has been in the NOVA meta over the last couple years, that was a huge problem. I decided that I was better off just not engaging Defiance unless I had a major advantage. To do that, though, I needed better objective play. As such, I dropped my fifth combat ship for another flotilla and added a pair of VCXs. Here's what I ended up with:
Name: I'm a Leaf on the Wind
Faction: Rebel
Commander: General Madine
Faction: Rebel
Commander: General Madine
Assault: Most Wanted
Defense: Fire Lanes
Navigation: Intel Sweep
Defense: Fire Lanes
Navigation: Intel Sweep
CR90 Corvette A (44)
• General Madine (30)
• Engine Techs (8)
• Turbolaser Reroute Circuits (7)
• Jaina's Light (2)
= 91 Points
• General Madine (30)
• Engine Techs (8)
• Turbolaser Reroute Circuits (7)
• Jaina's Light (2)
= 91 Points
CR90 Corvette A (44)
• Engine Techs (8)
• Turbolaser Reroute Circuits (7)
= 59 Points
• Engine Techs (8)
• Turbolaser Reroute Circuits (7)
= 59 Points
CR90 Corvette A (44)
• Engine Techs (8)
• Turbolaser Reroute Circuits (7)
= 59 Points
• Engine Techs (8)
• Turbolaser Reroute Circuits (7)
= 59 Points
MC30c Torpedo Frigate (63)
• Ordnance Experts (4)
• Assault Proton Torpedoes (5)
• H9 Turbolasers (8)
• Admonition (8)
= 88 Points
• Ordnance Experts (4)
• Assault Proton Torpedoes (5)
• H9 Turbolasers (8)
• Admonition (8)
= 88 Points
GR-75 Medium Transports (18)
= 18 Points
= 18 Points
GR-75 Medium Transports (18)
= 18 Points
= 18 Points
Squadrons:
• Tycho Celchu (16)
• Shara Bey (17)
• 2 x VCX-100 Freighter (30)
= 63 Points
• Tycho Celchu (16)
• Shara Bey (17)
• 2 x VCX-100 Freighter (30)
= 63 Points
Total Points: 396
Round OneMy first round was against Josh, who was running Ackbar. He had two MC30 Scouts, an AFII flagship, Corran, Shara, Tycho, a YT-2400, and 2x VCXs. I won the bid, so I opted for first player and picked his station assault. I had the deployment advantage as well, I managed to get Admonition perfectly positioned to go after Ackbar's flagship on the left flank.

Turn 1 is pretty standard for me at this point. Everything stayed pat at speed 3 and took nav tokens for later Madine shenanigans. My squadrons took advantage of obstacles to stay free. Josh turned slightly to the right with his formation. At this point I suspected he would turn back in to go for a slash.

I used my significant activation advantage in turn 2 to get the MC30 and one CR90 in perfect position, but careless maneuvering and some lucky dice rolls got both GR-75s killed by long range Ackbar broadsides. I initiated the squadron fight, using Shara to lock down his Rogues and VCXs. I kept the rest at range one of a single target squadron to force as many shots as possible on Shara.

I started turn 3 with a double arc from a CR90 into Josh's AFII and then hit the turbo boosters, leaving Admo to block the AFII. Josh followed up with the AFII, but caused minimal damage. Admo was in no real danger, so I left it in place until both MC30s had gone as well. I then used Admo to torch Ackbar's flagship and setup broadsides into both of Josh's MC30s. I got a little careless with one of my CR90s though, drifting a little too close to Foresight. Josh turned just enough to get the right broadside, which I didn't notice until the next turn.
Admo started turn 4 with the double broadside, crippling the left most MC30, but the dice didn't cooperate against Foresight. I lost one of the CR90s to the above described negligence, which had be wondering if I was going to be able to finish off Josh for the table. Jaina's Light finished off a station, though, ensuring we at least split the objective points.
I unfortunately forgot my top of turn 5 picture. I had hoped to use the MC30 to kill the remaining station, but I couldn't get it in position while also keeping Jaina's Light back. That turned out to be the right choice. I managed to get the left MC30 down to no shields and barely hanging onto life. I finished the turn out with a double ram against Foresight, dropping to 1 hull left (but lots of shields). The squadron fight continued uneventfully. At this point I think I had lost a VCX and Shara in exchange for 2x VCXs. Tycho was continuing to be an annoyance while my remaining VCX just turned and ran. It had zero impact on the ship fight.

Turn 6 was really just one activation. I was against delinquent in taking a picture, so the above is just the final board state. Jaina's Light finished off the left MC30 with Jaina's Light's double arc and then finished off Foresight with a final ram. I moved Tycho to ensure Josh's remaining squads in range couldn't touch Jaina's Light. Unfortunately the dice weren't with Josh, so Tycho lived through the final two attacks of the game. The final result was a 440-167 win for me.
Round Two
Round two was against Jim, who was running Screed. He had the mighty BT/Avenger, Demolisher, a Flechette Raider, a Repair Crew Gozanti, and 4x Defenders. He won the bid, took first player, and picked my Most Wanted. I was a bit surprised by that, but without his own Strategic, I'm not really surprised. I had a slight deployment advantage, so I was able to bracket the ISD (obviously the objective ship) with two combat ships on either side.

Jim swung out wide with his Raider on turn 1, angling for my squadrons and my objective ship. I shuffled my MC30 to the inside left approach, allowing the CR90 on that side to slip outside. This allowed me to screen the CR90 from Demolisher, which had gone down after the CR90.

Turn 2 is where the pain started. I forced the ISD into range of two of the CR90s, who started pounding away. Jaina's Light was in a comfortable enough position that I risked a concentrate fire command, for a total of 9 reds pouring into the ISD from just 2 ships. His Demo slowed back to cover the ISD's flank, so I swung my Admo out wide. My thought was to force Demo out of position if it wanted a shot at Admo. I once again initiated the squadron fight with the same tactics. Shara jumped in to engage everyone while Tycho and the VCXs engaged just one squadron. The dice rolls were terrible, though, so the damage was minimal...until the squadron phase. Shara died to the combined fire of the 4 Defenders, but caused 10 damage in return from her counter.

By turn 3 I think Jim was appreciating just how brutal Most Wanted was and decided to just try to get the ISD the heck out of Dodge. This is where my list really shined. The CR90s were throwing dice at both Demo and the ISD, bringing the ISD dangerously close to death. Demo continued cover the ISD's flank, but to little avail. I brought the MC30 back into the fight with a Madine assisted k-turn (speed 4 inside turn with a nav dial and a nav token) to threaten Demo's rear. Tycho jumped into the Defender ball to replace Shara, taking down one of the Defenders as well. The Raider gave up on the objective flotilla and turned back into the main fight. Oh, yeah, and I rammed the Gonzo to death. I love this list.

I believe Demo started out turn 4 by pouncing on Jaina's Light, which lived with a single hull point. The ISD went down shortly after that to CR90 fire. The Raider bull's-eyed one of the flotillas. Tycho and the VCXs continued to chip away at the Defenders, taking another down.

I was one activation late in taking this picture, so this is the top of turn 5 after Demo's move. Not a whole lot of shooting this turn as I turn back to chance down Demolisher. I managed to get both the Raider and Demolisher in double arc shots, forcing Jim to choose between the two. Naturally he chose Demolisher, so Admo annihilated the Raider with ease. In the squadron fight, Tycho finally went down, but took another Defender with him. I brought my objective flotilla into blocking position of Demolisher to try and keep it in place for Admonition.

Unfortunately for me, Demo lucked into an accuracy to start turn 6, so my blocking effort didn't work out. Luckily for me, though, I still had a CR90 in long range and Demo was out of defense tokens. I managed to tag it with just enough damage to complete the tabling. The remaining Defender finished off one of my VCXs to end the game. The final score was a 510-102 win for me.
Round Three
Round three was against JR, who was also running Screed. After the tourney, I found out there was a third Screed out there as well! JR had used it to forgo 20 points of Ordnance Experts. He brought BT/Avenger, Demo, 3 Raiders with APTs, and a Slicer Gonzo. This was very hard for me to approach. Usually when I'm facing equal activations, I can pick on flotillas to create an imbalance. I didn't really have much opportunity for that this game, making my initial deployment and approach difficult. I had the bid, but I wanted to see how I would fair as second player against something like this, so I took second player. Like Jim, JR saw Most Wanted as his best chance to avoid a major victory point imbalance. I had the deployment advantage, so I stacked most of my combat power to the left of the ISD in an attempt to keep Demo out of the fight.
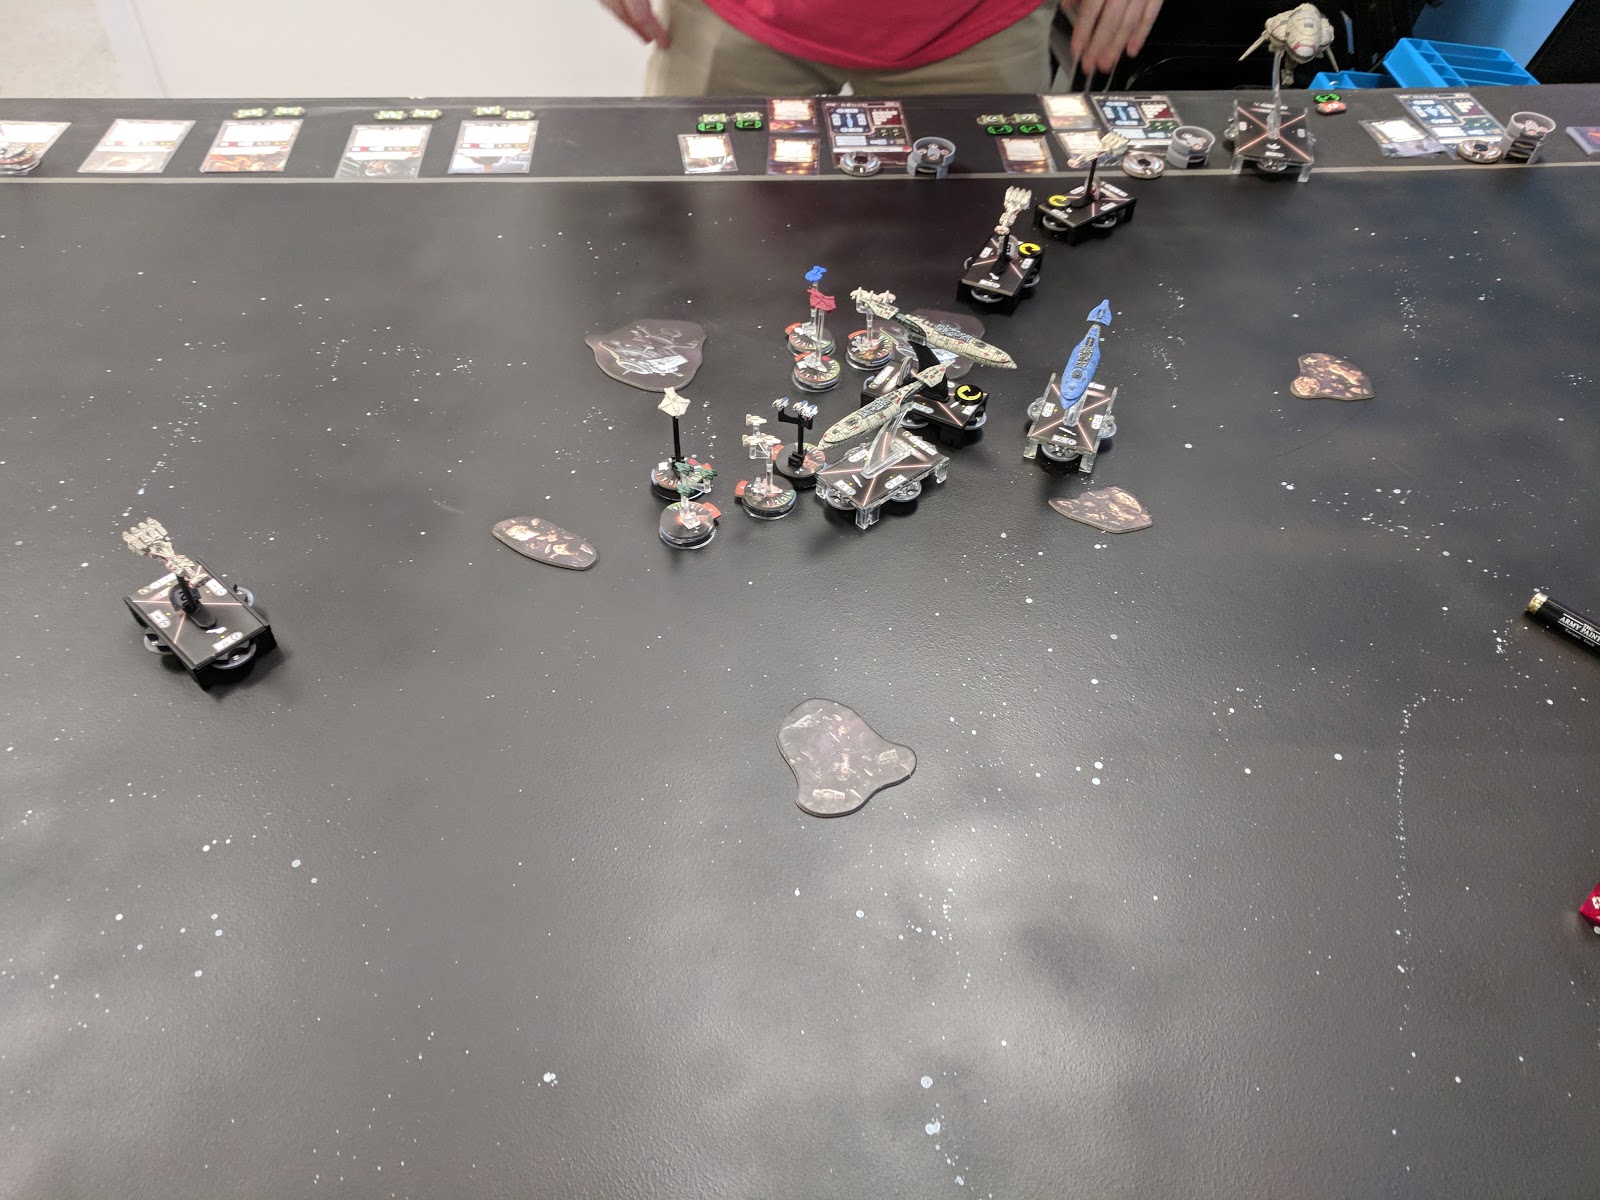
Unfortunately I forgot a deployment photo, but you can get the idea from the below picture from the top of turn 2. I went through my usual turn 1 routine, while JR slow rolled his approach. I didn't have to worry about opposing squadrons, so I moved my own out expressly to help hunt the ISD.

Turn 2 is where the even activations hurt the most. The Gonzo was the first activation, slicing the right CR90 away from a nav command. I still managed to double ram the Gonzo, but I wasn't quite where I wanted to be. The Raider and Demo ended up putting a lot of fire on the CR90, so it was down to a single hull point by the end of the turn. I maneuvered Admo to threaten a Raider in response, but JR brought Avenger in with the last activation. In hindsight I could have activated one of the other CR90s first, but I had an awful lot of threats to worry about. My squadrons started the assault on the ISD. If I remember correctly, the dice were hot, recording hits with all 4.

JR naturally started turn 3 with Avenger and Boarding Troopers, blowing Admo out of the water. JR rightfully breathed a sigh of relief because it was looking like his Most Wanted gamble was going to pay off. Because the ISD went first, though, I got my right most CR90 out of danger and turned toward the ISD. Most Wanted started kicking in with the CR90s, whittling away at the ISD. The squadrons were again hot, scoring 3 hits against the ISD. Demo got a lucky accuracy and brought down the right flotilla, hurting me in the activation count even further. I was sweating pretty bad at this point in the game.

JR made a mistake at the start turn 4, choosing the center Raider as his first activation. I think he was trying to obstruct shots into the ISD's rear, but didn't have the reach. In return, I double arced the ISD with a con fire. It was down to a single health, so I naturally rammed it to finish it off. I think I still would have killed it, but I think it would have taken another turn had he moved forward (only speed 1 at this point and no token), gotten off his coming repair command, and overlapped the station. The Raider was also in a bad position, allowing the CR90s to kill it with some squadron assistance. The left most Raider hunted down my objective flotilla, but the damage had been done. In the space of a turn, the game had drastically swung back in my favor.

By turn 5 I was really just looking to avoid any more losses. The problem, as is typically, was bloody Demolisher. JR still had activation advantage so I had to move some of my CR90s before Demolisher. I manage to sneak my severely damaged CR90 back inside Demolisher's approach, angling for the Gonzo.

I couldn't quite stay out of Demolisher's range, so turn 6 started with Demolisher going for my CR90. JR got exactly enough damage to kill it, the single point of hull damage from the earlier ISD ram making all the difference. I rammed his Gonzo to death in retribution and kept Jaina's Light out of firing range of his left Raider to finish out the game. The final score was a 340-201 win for me.
Conclusions
I'm kinda bummed I didn't get to face a Defiance, Sloane, or Yavaris lists, but still pretty stoked about how well my own list played. I haven't made significant enough changes for me to overly worry about Sloane, and I just don't fear Yavaris squadrons with my speed, manueverability, and flotilla hunting acumen. Above all I wanted an Ackbar Defiance match. Still, the game against JR was a very tough test of a different sort. The guy has been playing for a total of three months, which blew my mind. Save one mistake that I don't think changed the overall result, he flew his fleet incredibly well.
I'm very happy with the changes. The ability to play token objectives completely changes what I can do, while the 4 point bid gave me the exact flexibility I was looking for in player choice. The VCXs are a better investment for the squadron fight than I expected. Those eight hull points let them stay in there for quite a while.
Above all, I have to say how much fun this group of players was. There continues to be something special about the Armada community compared to other tabletop games. Everyone was relaxed, having fun, and helping each other sportingly remember small details. I still can't believe we had fourteen people. I can't wait for Martinsburg!
I've been out of the game for a while but am excited to pick it up again. I'm trying to figure out what the meta is (more or less) and have a few questions. I've seen you mention Defiance lists more than once. Could you give me an example of what a good Defiance list is? I'm having trouble visualizing it. Cheers!
ReplyDeleteYou standard Defiance list is an Ackbar lead MC80, with every upgrade you can cram onto it, plus 4 flotilla, plus some VCX-100 for Strategic. Most make a bid for 2nd player, and try to win off of objective points, using the VCXs to move tokens towards the MC80.
DeleteI want to say "thank you". I used this list (only exchanging 1 VCX for 1 E-wing and "" "Hyperspace Assault") for a store championship in Rosenheim (Bavaria). I didn't have so much time to work an a new list. I succeded to become second (from eight), only loosing against a heavy Dodonna-Bombers list.
ReplyDeleteThe list is great, if you love the little speeders like I do. (Maybe Slicer Tools against carriers are worth a second thought.) And it's always fun to look into the face of people, when this harmless looking boats blow up an ISD in round 3. ;o)
I love that Madine MSU, congratulations! Do you think a Garel's Honor wih racks can also be an alternative to one of the CR90 in the list?
ReplyDelete